Chromecast is a streaming device that comes with very convenient installations and steups. When you get a Chromecast device, all you need to do is plug cords on the TV and you can then use its remote to navigate through its menu.
Every movement you interact with the Chromecast is at real-time speed, since the signal is transferred by Wi-Fi, which makes it fast enough to guide you to the movies or show you want. However, when your Wi-Fi is somehow having problems, or you have already swapped to another Wi-Fi network, you might think about how to change Chromecast Wi-Fi settings.
Table of Contents
Method 1. Change it directly in the settings menu
If you have a Chromecast with Google TV, which comes with a remote, you can use the remote to change Chromecast Wi-Fi directly from its settings menu. Since there isn’t a menu button on the remote, you would have to navigate through its system menu and get to the settings page by the following steps.
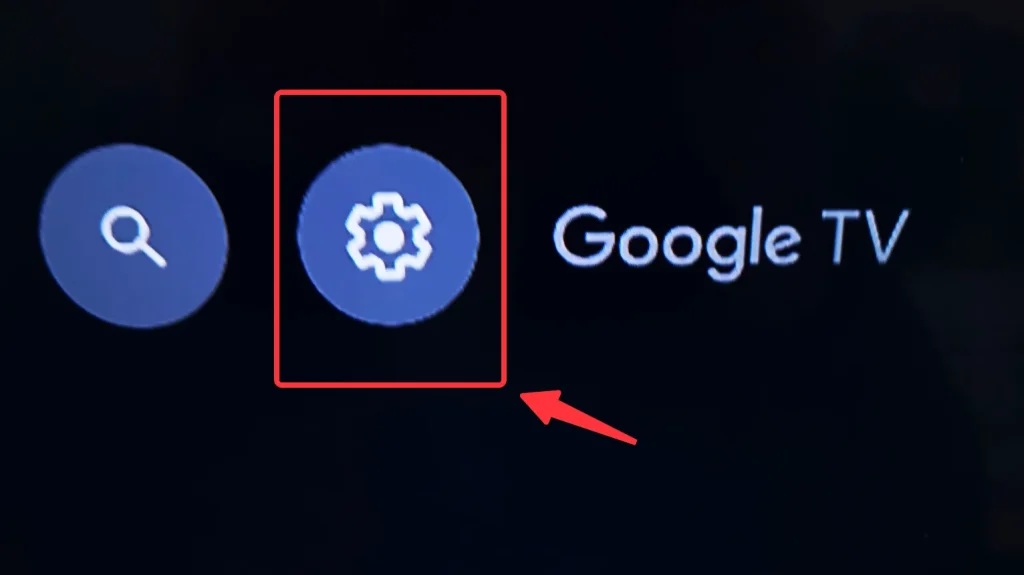
Step 1. Go to the home screen, move the cursor to the gear icon and hit enter.
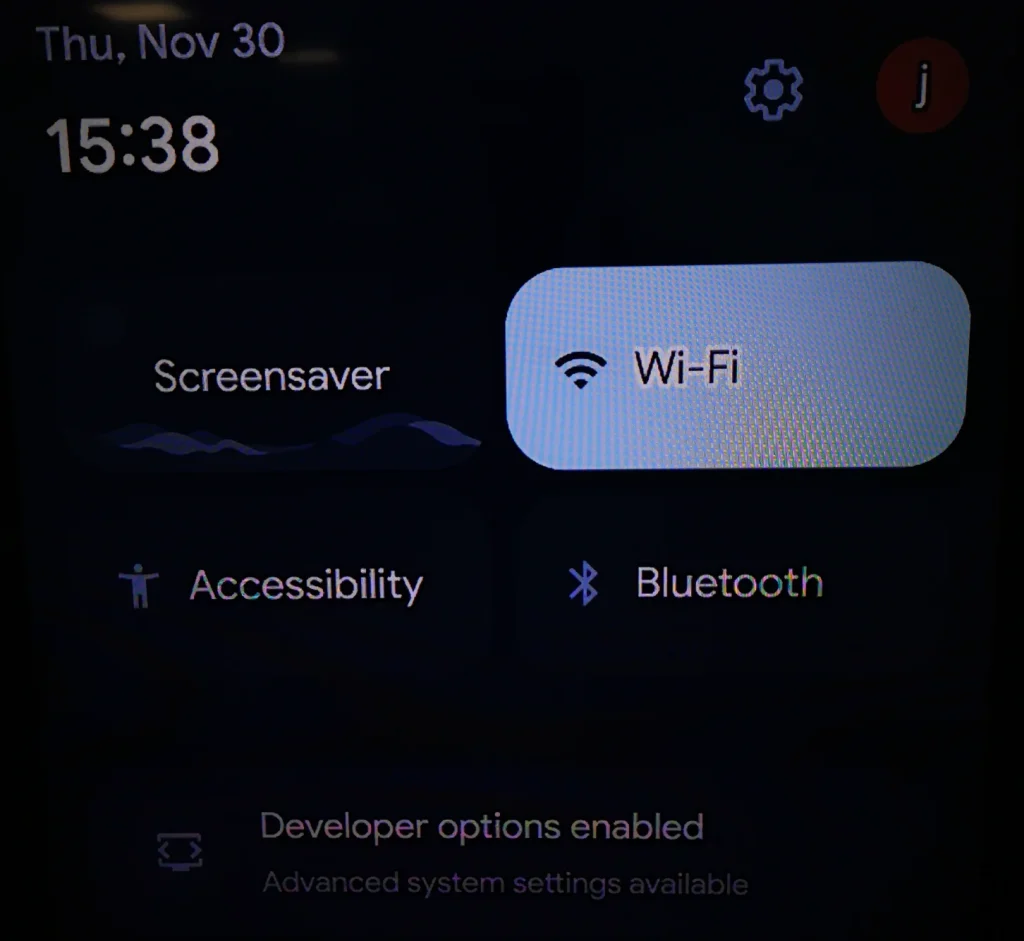
Step 2. Click the Wi-Fi icon.
Method 2. Change with Google Home App
If you have the Chromecast 2nd gen or Chromecast 3rd gen, which do not come with a remote, you might need to use the Google Home app to change the Wi-Fi network for Chromecast. Google Home is one of the basic apps for Google smart devices, and you can monitor the connection of devices, including Chromecast.
Step 1. Ensure that your Chromecast is plugged into the HDMI port of your TV and powered on, and also make sure your device is using the Wi-Fi that your Chromecast is currently using.
Step 2. Open Google Home app and click the Devices tab.

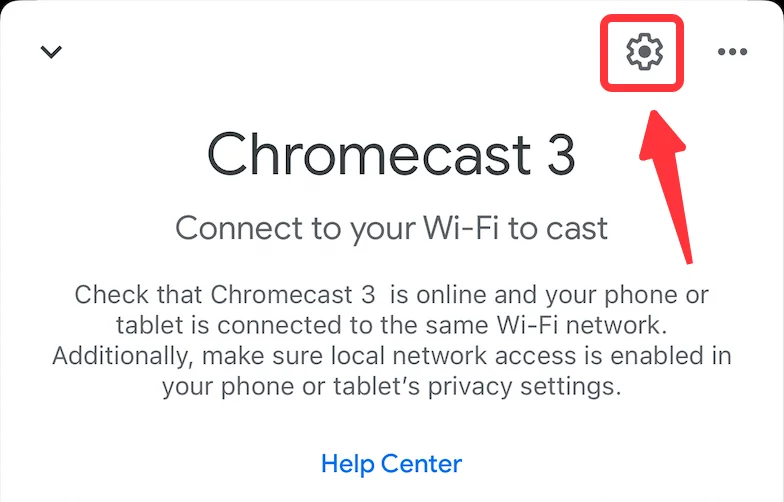
Step 3. Choose the device you want to change Wi-Fi with, and click the gear icon in the upper-right corner.
Step 4. Click the Device Information.
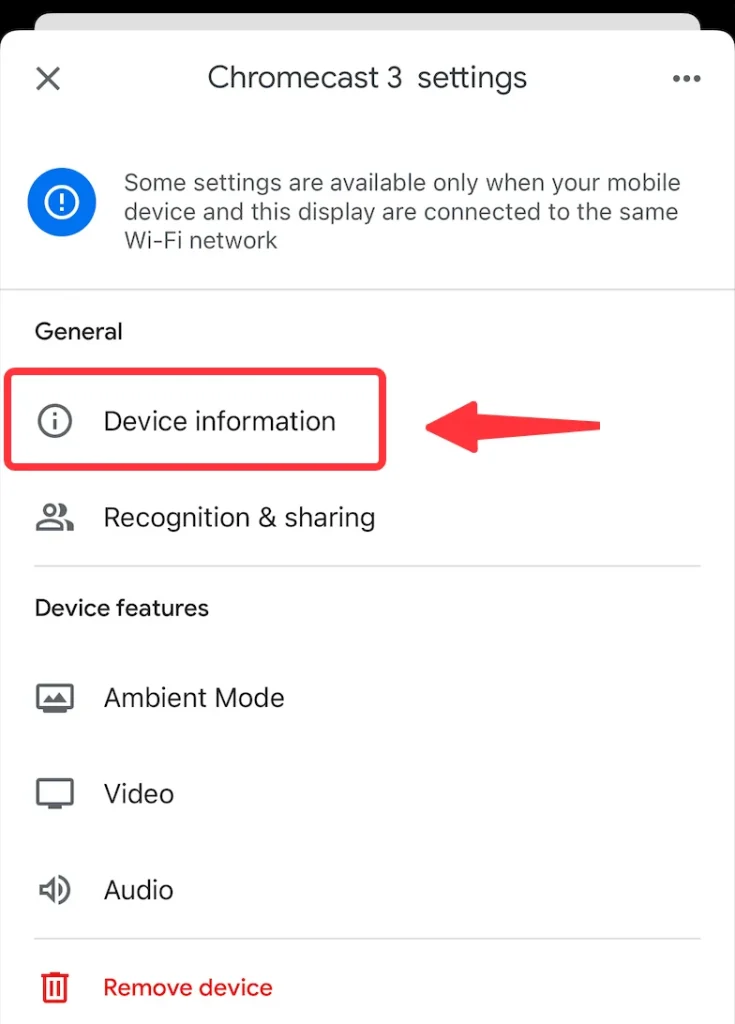
Step 5. Click Wi-Fi.
Step 6. Click Forget this network.
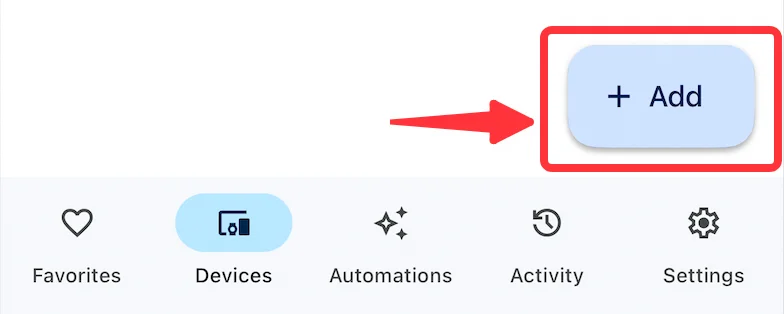
Step 7. Then you will be taken to the Home screen, click the Add(+) icon.
Step 8. Click Set up device.
Step 9. Click New devices.

Step 10. Follow the setup guide and you will be conducted to bring your Chromecast on the new Wi-Fi network.
Since Google Home app is a very basic app, you might need an advanced app for multi-media casting and real-time mirroring. Here I recommend BoostVision‘s TV Cast for Chromecast. For more information, you can read A Comprehensive Review of TV Cast for Chromecast.
Conclusion
How to change Chromecast Wi-Fi isn’t a hard question to be answered, but there aren’t many methods you can use. If you have a remote, you can use the remote and navigate to the Wi-Fi settings page, and swap the Wi-Fi network you want to use. If you don’t have a remote, you can try to use the Google Home app to change Chromecast Wi-Fi.
Change Chromecast WiFi FAQ
Q: How do I change my Chromecast to a new WiFi?
In order to change Chromecast to a new Wi-Fi, you should open the Google Home app, go to the Device information -> Wi-Fi -> Forget this network, and the system will bring you to the Home screen and you will have to set up a new Wi-Fi network.
Q: How do I reset my Chromecast?
To reset your Chromecast, if you have a remote, you can use it to navigate through the menu. Move your cursor to the gear icon, and open the settings menu. Then, move the cursor on Wi-Fi and enter the Wi-Fi settings menu. This way, you will be guided to a list of available Wi-Fi networks. The last thing you need to do is choose the Wi-Fi you want to change and you are good to go.


